
Protect your CloudExa accounts with 2FA and recovery codes
Your billing, game, VPS and dedicated-panel accounts can have separate passwords and security settings. Enabling two-factor authentication in one panel does not prove that it is enabled in the others. Start with your email account, because password reset messages arrive there.
Use a strong password for each account
Save a unique generated password for each panel in a password manager. Keep the email address on your billing account up to date. Your server's Linux password is separate from your VPS panel login; use the Linux password guide when you need to change the machine login.
Open the panels from your bookmarks or CloudExa's service pages. Check the full hostname and HTTPS connection before signing in:
- billing.cloudexa-hosting.com
- game.cloudexa-hosting.com
- cloud.cloudexa-hosting.com
- dedicated.cloudexa-hosting.com
Enable two-factor authentication
- Open the account security settings in the panel you want to protect. In the billing portal, look for Security Settings. In the VPS panel, open your account and find Two-factor authentication.
- Choose the enable or setup action. Scan the QR code with your authenticator app, or enter the setup secret in the app.
- Enter a fresh code from the app to finish verification. Keep your phone's date and time set to automatic if codes fail.
- Save the backup or recovery codes that the panel provides. Store them in your password manager or another safe location you can reach if you lose the phone.
- Confirm the panel shows that 2FA is enabled. Test a fresh sign-in while retaining your working session and recovery codes.
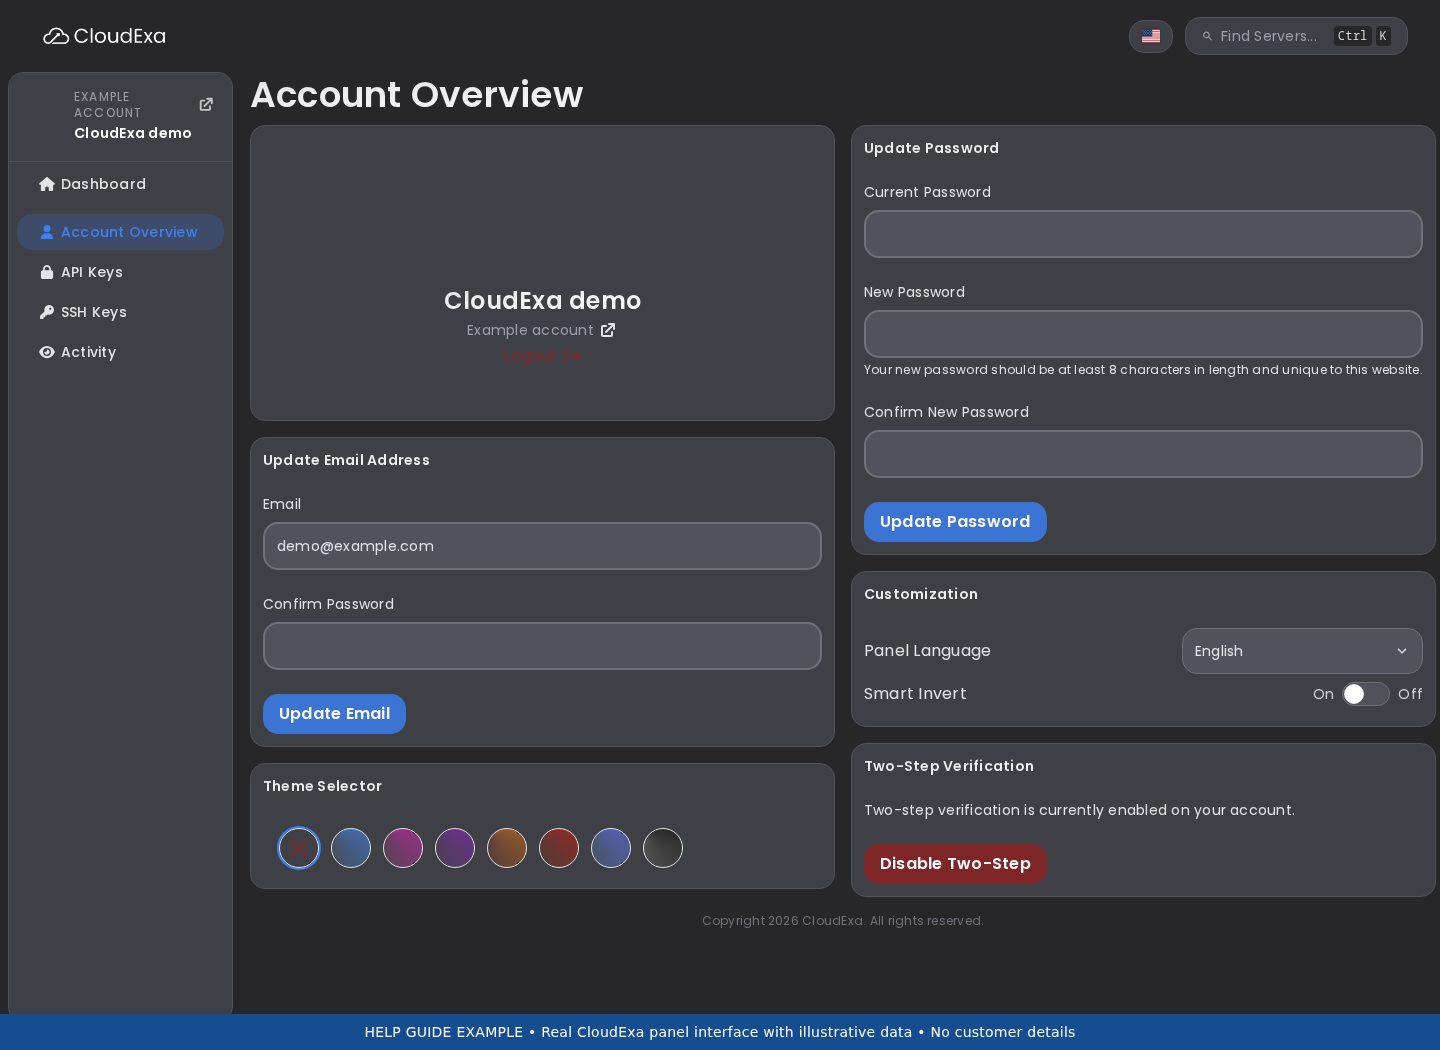
Never include a setup QR code, secret or recovery code in a support screenshot. In the VPS panel, Show recovery codes lets you review the saved codes after setup. Regenerate recovery codes replaces the old set, so update your stored copy if you choose it.
Give teammates individual access
Use subuser invitations and grant only the server permissions the person needs. Review access when someone leaves your team. A teammate who needs the console does not necessarily need permission to delete files, restore backups or manage other users.
Keep API tokens private and limit their permissions where the panel supports it. Give each integration its own token so you can revoke access without interrupting unrelated tools. Do not place tokens in public repositories, Discord messages or browser screenshots.
Handle suspicious messages and lost access
If an unexpected message asks you to pay or sign in, open your saved billing-panel address and check the invoice or ticket there. Do not send your password, 2FA code or recovery code in an email reply. Contact support through your usual channel if you cannot confirm a request.
If you lose the authenticator device, use the panel's backup-code sign-in option where available. Each panel may handle recovery differently. If you have no working code, contact support and follow account ownership checks. Reinstalling a server will not recover your panel account.
If you suspect a leak, change the affected password and revoke exposed tokens. Ask support to review suspicious account activity and active access. Tell us what happened and when, while keeping the exposed secret out of the ticket.
Reference: Using a billing-portal backup code.